October 7,2021
Magento 2 Guide: Adding a Simple Product
Here, we’ll be looking at how to add a simple product in Magento, much of what is learned here, can be applied to the other product types, as they will all share common attributes such as Name, SKU, Images and so on.
We’ll be using the Magento 2 CMS for this, but the same fileds and principles can be used in Magento 1, we’ll be looking at the essential fields you need to add, as well as other essentials to create a complete product:
- The Name, Price and SKU
- Categories and availability
- Adding the product description
- Add images and videos
Now to add your first product, we’ll go through the basics that you need to have and then a couple of bonus features you may find useful afterwards.
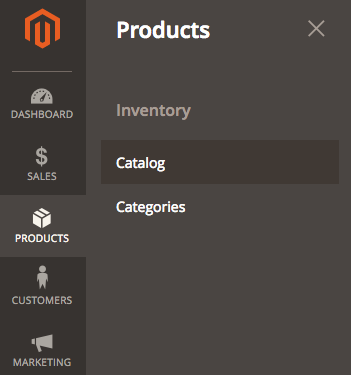
To begin with we’ll do the same as we did to get to the categories section, click the Products section on the right, then Catalog.
Here you’ll find your list of products (or you will when you’ve added them). In the top right you’ll see theAdd Product button, to start adding our first product, click the little arrow on the button and select Simple Product.

Need help with Magento?
We are experts in Magento, with experienced designers, developers & marketers. If you need a hand, get in touch.
Need help with Magento?
We are experts in Magento, with experienced designers, developers & marketers. If you need a hand, get in touch.
The Name, Price and SKU
Now we’re starting to get somewhere, there’s a lot here that may seem a bit daunting, but you don’t need to worry, we can ignore most of this, we’ll just be looking at the essentials you need to do.
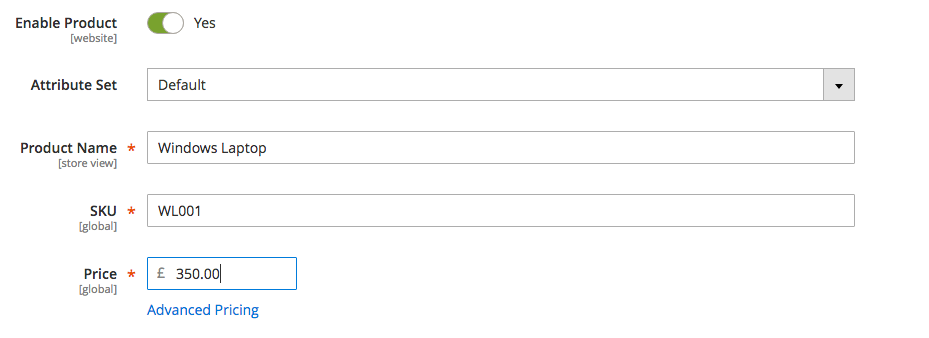
First off, ensure the Enable Product is set to Yes, this will make sure when it’s added we’ll be able to see it on the front end of the website.
Next enter your product name, price and SKU, these are all required fields.
The name and price are straight forward, the SKU though has to be unique for each product, you can’t have the same SKU appear twice on your website.
Categories and availability
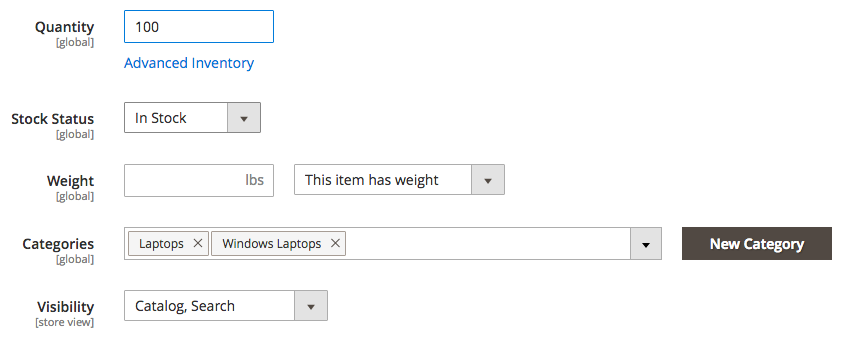
Next we’ll scroll down to where it says quantity, this is where you add the amount of stock you have, ensure the Stock Status underneath is set to In Stock.
Stock will be deducted each time the product is purchased and will automatically mark itself as Out Of Stock when the stock reaches zero.
Underneath you’ll be able to add your product to a category, go to Categories dropdown, and select all the categories you want the product to display in, (now you see why we added this first ).

Make sure the Visibility option is set to Catalog, Search – this will allow the product to be seen both in the catalogue, and be found when using the search bar.
Need help with Magento?
We are experts in Magento, with experienced designers, developers & marketers. If you need a hand, get in touch.
Adding the product description
Now to add the product description, expand the content tab to get to where you’ll be adding the product content.
Here you will see two editors to add content into, one is the product page description, the second is a short description.
The Description: The main product content you will see when you navigate to the product detail page.
The Short Description: The small overview you will see on the category page when browsing through the products.
Depending on how your Magento 2 store is set up, will decide if you need the Short Description.
Add your content into the WYSIWIG editor, this allows you to style your content as you wish, once you’re done click save. Well done, your product now has a description!
Add images and videos
Add Images
Now we’ll expand the images and videos, here you can drag and drop the images you want to use, or click the image logo to browse and add the images.
Once they’re on, you’ll see that one has Base, Small, Swatch, Thumbnail under them.
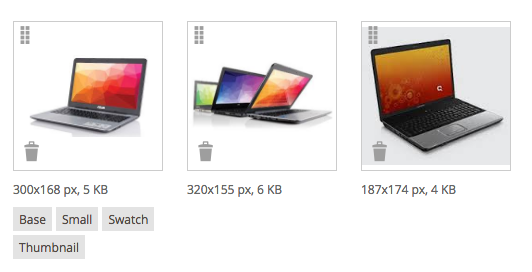
This is currently the main image, the first one people will see, if you click on the image with them, you can untick these, and then add these to the most relevant images.
Add Video
If you want to add a video to your product, it will need to be hosted on either Vimeo or Youtube.
For Vimeo, you’ll just need the URL of the video, for Youtube, you’ll need to set up the Youtube API key first.
Click the Add Video button, add the video URL and a name for the video, that’s it you’re done, all you need to do now is click save, congratulations, you’ve now added your first product to Magento 2, pat yourself on the back on a job well done.
You now have the basics to build and populate your Magento store
Extra product features
- Use a special price
- Product meta details
- Add related products, upsells and cross sells
- Configure custom options
Need help with Magento?
We are experts in Magento, with experienced designers, developers & marketers. If you need a hand, get in touch.
Use a special price
Let’s take a look at the price again, under where you’ve added your price, click the Advanced Pricing
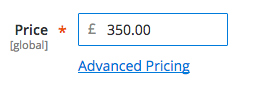
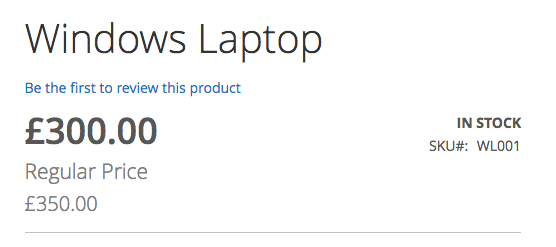
Here you have some extra options with product price, the main one we’re interested in is the Special Price, where you can add a discounted price.
Depending on your how your Magento stores configured, will depend on how it displays, but to you an idea of discounted price on a product.
Product meta details
Meta Details is the same as it is when adding a Category, the Meta Title and Meta Description (don’t bother with Meta Keywords, they do nothing).
This will be what shows up when your product shows in the search results, to edit these, expand the Search Engine Optimisation tab.
Add related products, upsells and cross sells
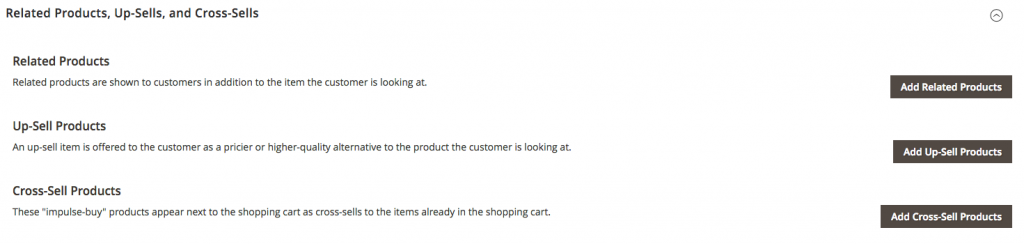
Related: These are related products are similar to the product. E.g. a laptop may show other laptops as related products.
Up-Sells: These are similar, more expensive versions of the product. E.g a laptop may show a more expensive version of the laptop with more memory as an upsell product.
Cross-Sells: These are products often bought alongside the product. E.g. a laptop may show a laptop bag as a cross sell.
These can help increase your sales by suggesting other products for your customers to buy, to set these up, expand the Related Products, Up-Sells and Cross-Sells tab.
Clicking on anyone of the buttons will bring you a list of all the products, where you can choose which ones to add. Simply tick the products and when done, Add Selected Products.
Need help with Magento?
We are experts in Magento, with experienced designers, developers & marketers. If you need a hand, get in touch.
Configure custom options
Finally, we’ll look at custom options, you should only use these on products that have variations, under the same product code, where whatever option they buy, it deducts from the same product.
For example, a laptop where you can change the colour of the case, but it’s the same item and comes from the same stock.
To set these up, scroll down and expand the Customizable Options tab and click on Add Option on the right.
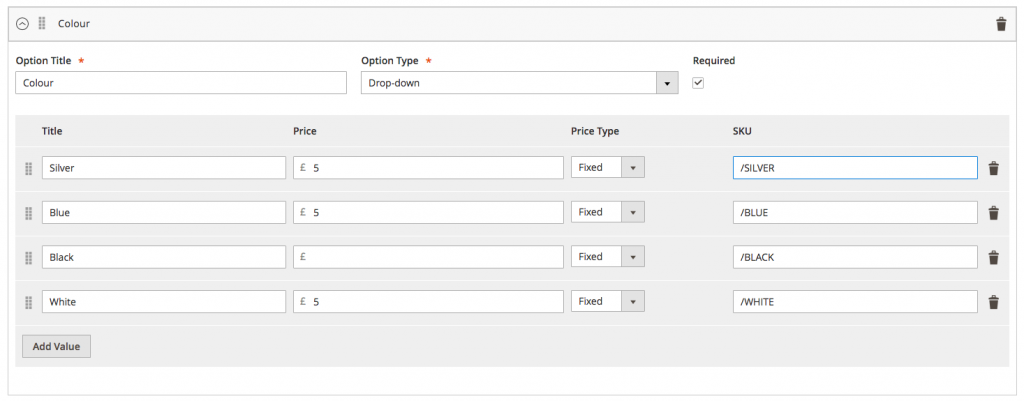
There will be a number of different options to choose from, but we’re going to go with the classic dropdown.
Enter the name of the option, for us it would be laptop bag strap colour and select the dropdown option type.
Now you can add the values you want, the additional cost for the options and any custom SKU additions you may need.
Well done, you’ve just added your first Simple Product in Magento 2
We are a experienced Magento Agency, working with brands both large and small. If you need any help with your Magento Store, get in touch with us today!