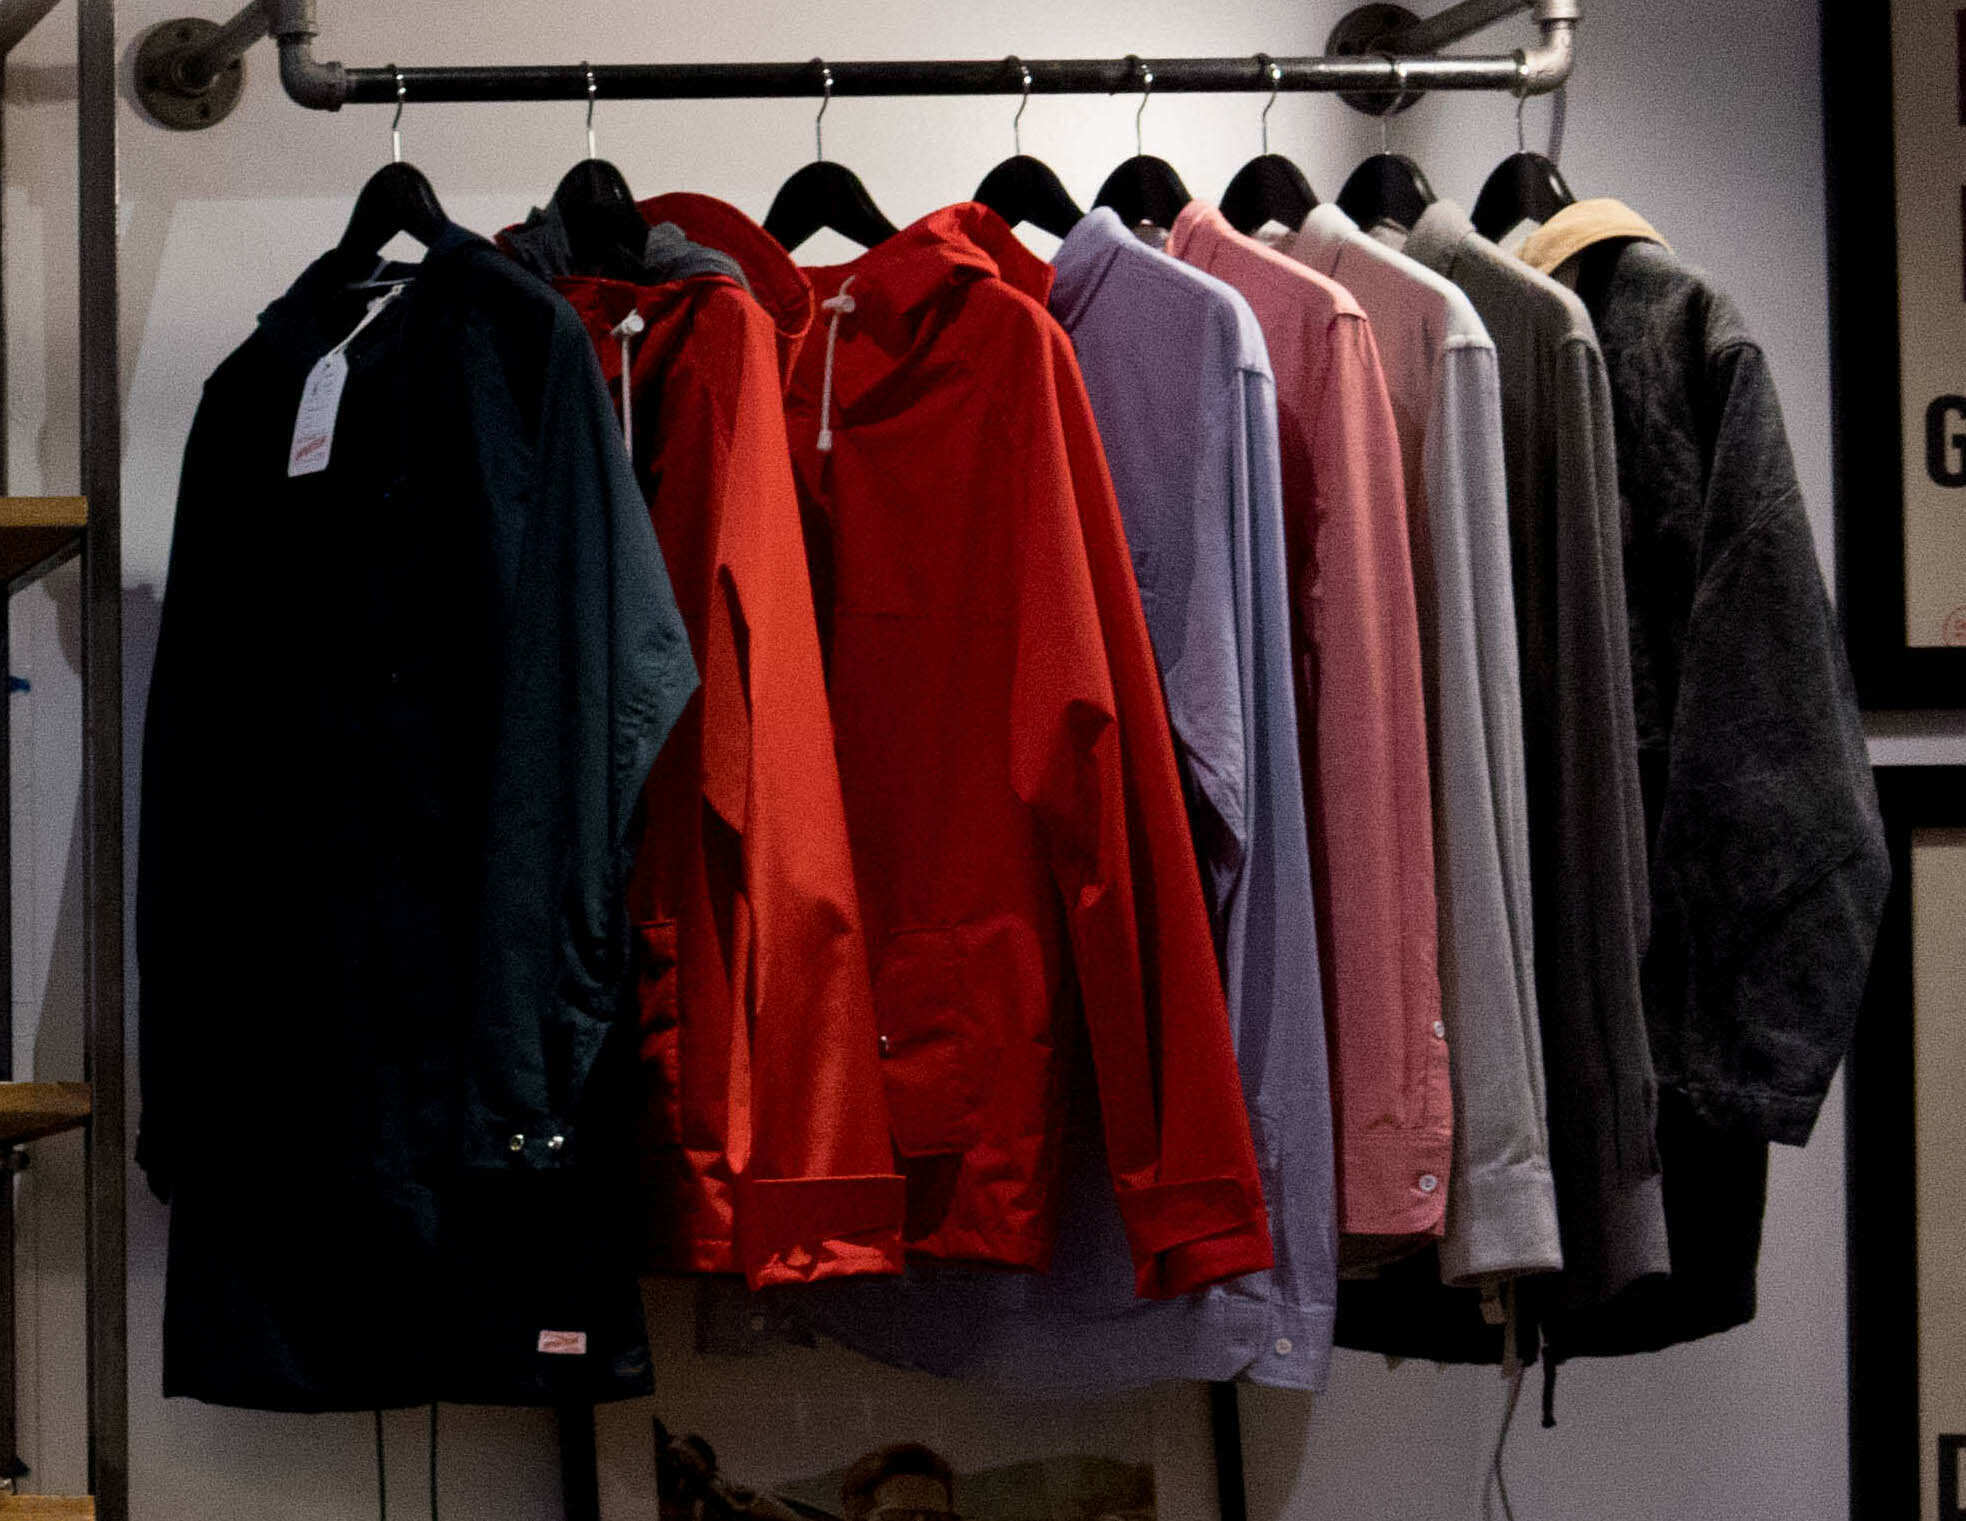
We always want to make things easier for our customers to do, the easier it is to find a product they want, the higher the chance you have of making a sale.
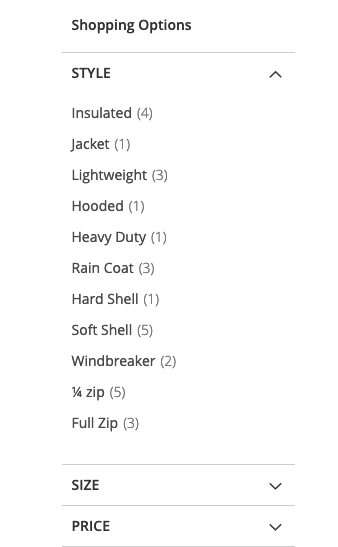
Layered navigation can be a major way of improving the usability of your website, it helps people filter to the products that match what they’re looking for. There are a number of elements you can filter products by, such as colour, size, style and so on.
The category filter options are defined by the product attributes. We’ve talked previously about product attributes and how to add them, for this we’re simply going to look at the setting that will make these show as options.
Need help with Magento?
We are experts in Magento, with experienced designers, developers & marketers. If you need a hand, get in touch.
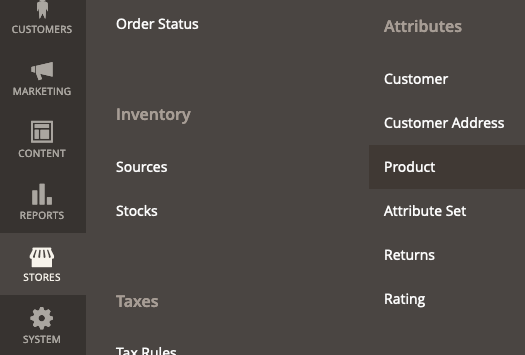
If you head to Stores > Attributes > Product, this will take you to the list of attributes.
From the table, open an attribute that you want to have use with filter options (e.g. colour).
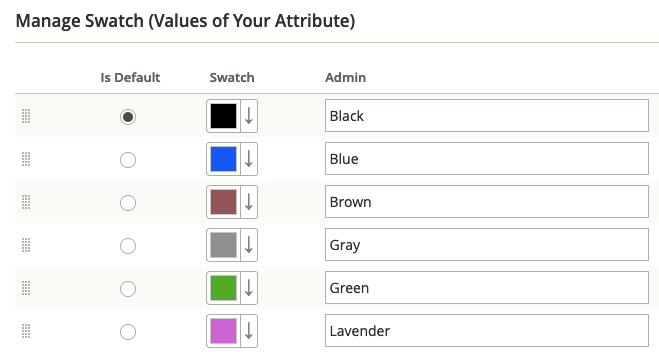
Once in the product attribute, make sure you’re on the Properties tab on the left, scroll down to the Manage Options (Value of Your Attribute). These are what will make up the filter options. If an extra needed an option was needed, you can simply add another option.
On the left menu, go to Storefront Properties. Scroll down to the Use in Layered Navigation dropdown, this is what determines whether this attribute is used for layered navigation. There will be 3 options:
No, this will mean that this attribute is not used for layered navigation.
Filterable (with results) will mean this attribute is used layered navigation and all options that have corresponding products will show.
Filterable (no results) means that this attribute will be used for layered navigation and all options will show, even if there are no products in the category that have the option.
Whichever option you choose, it will used across the entire website where applicable.
Adding layered navigation to a category
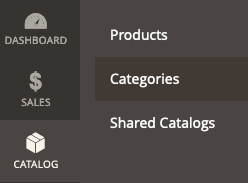
Now, to add the filter options to a category page is simple and straight forward. To do this, head to Catalog > Categories.
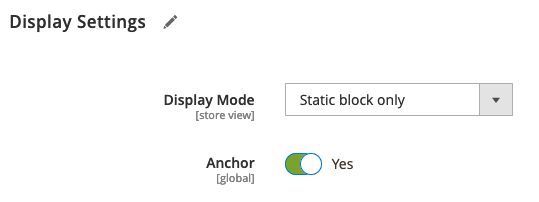
Select the category you want to have layered navigation on, then head to its Display Settings.
Under here there is an option called Anchor, switch this on and then hit the save button. This will then switch on layered navigation for that category (Note: you may need to flush cache for it to appear).
Need help with Magento?
We are experts in Magento, with experienced designers, developers & marketers. If you need a hand, get in touch.
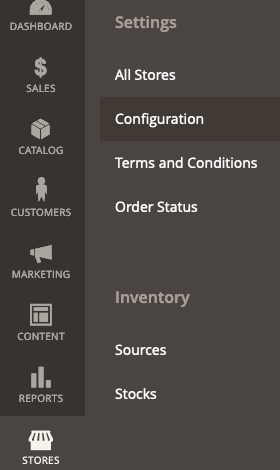
The final element we’re going to look at in terms of layered navigation is the way that people can price filter navigation and showing the number of products each filter has. To get to these settings, head to Stores > Configuration.
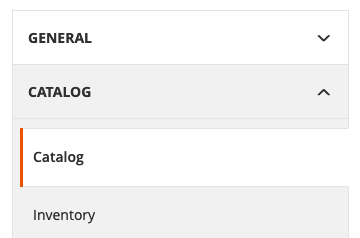
From here, on the left, expand the Catalog section and go the Catalog sub-menu item.
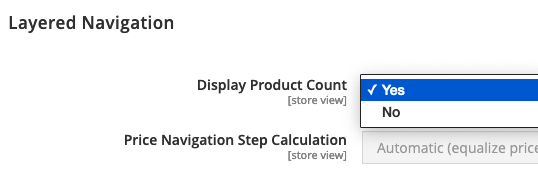
Scroll down and expand the Layered Navigation section. Here, there will be two dropdowns, the first one is Display Product Count, having this selected to Yes will put a quantity number next to each filter option to show the number of products that have that filter. Selecting No will stop the quantity appearing.
The next option is Price Navigation Step Calculation, which will have three options:
Automatic (equalize price ranges), this will use the default algorithm for pricing navigation.
Automatic (equalize product count) will open up some additional options, the Display Price Interval as One Price dictates what happens when the prices are all the same for a specific price interval, the Interval Division Limit dictates the number of subintervals in the pricing layers (a maximum of 9 are allowed).
Manual lets you manually dictate on a per category basis for how you want th pricing to be split. You can set up default values here, with the Default Price Navigation Step being the value of the price intervals (e.g. £10 price intervals) and Maximum Number of Price Intervals being the number of pricing intervals there are (up to 100).
Hit Save Config when you’ve finished choosing your settings.
Note: If you want to have navigation on your Magento website, it’s a wise idea to switch on the Canonical tag in the Magento settings, or have an alternative method for dealing with the possible duplicate content issues.
We are a experienced Magento Agency, working with brands both large and small. If you need any help with your Magento Store, get in touch with us today!