Customer groups can be used for splitting you customers into different categories. This splitting of customers can, for example, let you provide benefits to certain customers, such as discounts, product prices, emails received and the tax class they are put into.
One idea would be to have a ‘wholsesale’ and retail’ customer lists. Your wholesale list would be shown preferential pricing that scales the more they purchase, whereas your normal retail customers would see the standard pricing.
You could then email and provide members with a special discount code that only works for people in the customer group ‘members’. It’s basically a label you apply to your customers.
Create a customer group
Log into the Magento admin area.
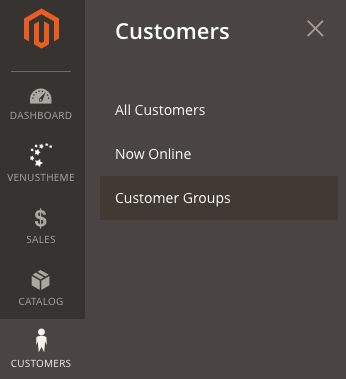
From the menu, go to Customers > Customer Groups.
Click the Add New Customer Group button
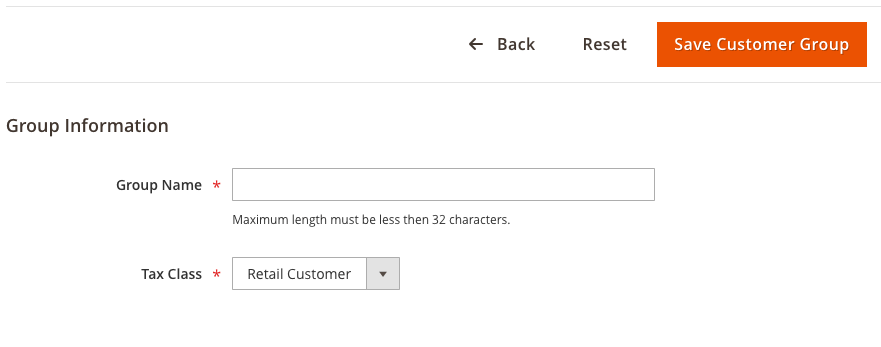
Assign a name and applicable tax rate.
Hit save.
To create a customer group, log into your Magento admin area and go to Customers > Customer Groups.
Then click the ‘Add New Customer Group’ button.
Create a name for your group and apply the relevant tax class.
Hit ‘Save customer group’ and you’re done.
Need help with Magento?
We are experts in Magento, with experienced designers, developers & marketers. If you need a hand, get in touch.
Click the Actions drop-down and choose Assign a Customer Group.
Choose the customer group from the options provided.
The next thing you want to do is apply this to the applicable customers. This can be applied to customers, so the people you want to show this to will need to have accounts on your system.
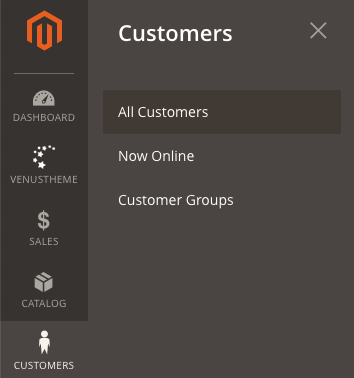
Head to Customers > All Customers from the side menu.
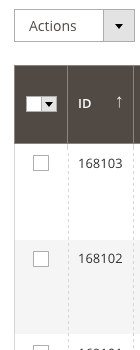
Go down the table and check the box of each customer you want to add to your customer group. Once you’ve selected them all, click the ‘Actions’ drop-down and choose the ‘Assign a Customer Group’ option.
This brings up a second menu where you can select the customer group you wish them to join, and that’s it.
Pricing for different customer groups
Log into the Magento admin area
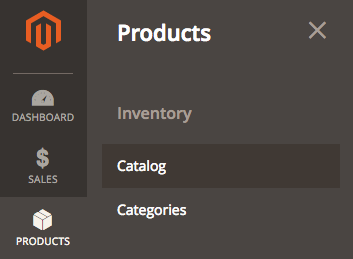
Go to Catalog > Products.
Select the product to edit.
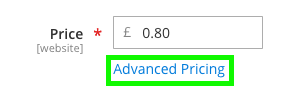
Find pricing and click the ‘Advanced Pricing’.
Under Customer Group Price, hit the Add button.
Choose the website view, customer group, item quantity and price.
Click done and save the product.
Using customer groups, products can show different prices, depending on the customer group they belong to. To apply this, head to Catalog > Products from the menu.
Find the product you want and click edit. Once you’re on the product edit screen, find ‘Price’, under this will be an option for ‘Advanced pricing’, which will bring up another screen.
Now, to add different pricing depending on product group click the ‘Add’ under Customer Group Price. Choose the Website view you’d like it to apply to, the customer group, the default quantity. For the price, you can either choose fixed, where you can manually enter a new price, or discount, where you can define a percentage reduction from the original price, this is then defined in the last entry box.
Once you’ve finished, click Done to exit this screen and Save to apply it.
Need help with Magento?
We are experts in Magento, with experienced designers, developers & marketers. If you need a hand, get in touch.
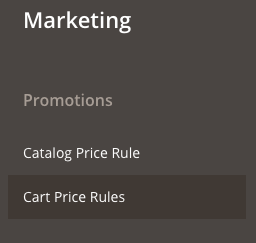
From the menu Marketing, choose either Catalog or Cart Price Rules.
Either edit an existing rule or create a new one.
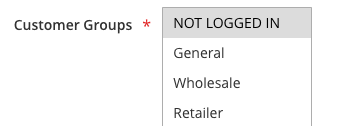
From the multi-select, choose the applicable customer groups.
Make any other changes needed.
Hit Save.
The last thing we’re going to look at it is how to apply this to a shopping or price cart rule. Head to the Marketing from the menu and either Catalog Price Rule or Cart Price Rule (applying a customer group is done the same way).
Either choose an existing rule or create a new one, from here scroll down to ‘Customer Groups’. Use the multi-select to choose which customer group this will apply to.
Once you’ve finished hit Save.
In most situations where you can define the customer group, it will use a multi-select like this, so this can be used universally.
We are a experienced Magento Agency, working with brands both large and small. If you need any help with your Magento Store, get in touch with us today!